A commercial ice machine is a piece of refrigeration equipment, a water-using appliance and a food-contact system. Installation has to satisfy all three roles. Many disappointing machines are not defective; they are installed with warm supply water, inadequate drainage, restricted airflow, poor filtration or too little room for service.
The best time to find these conflicts is before the equipment ships. Use this checklist with the selected model’s installation manual and the requirements of the local authority, electrician, plumber and refrigeration contractor. For equipment options and verified capacity ranges, start with Freezer Supply’s commercial ice machine page.
1. Verify the exact equipment configuration
Confirm the model number of the ice head, bin or dispenser, condenser type, voltage, phase and accessories. Similar-looking models can have different electrical, water and ventilation requirements. If the system includes a remote condenser, document the permitted line-set length, lift, refrigerant requirements and condenser location.
2. Measure the finished space and service path
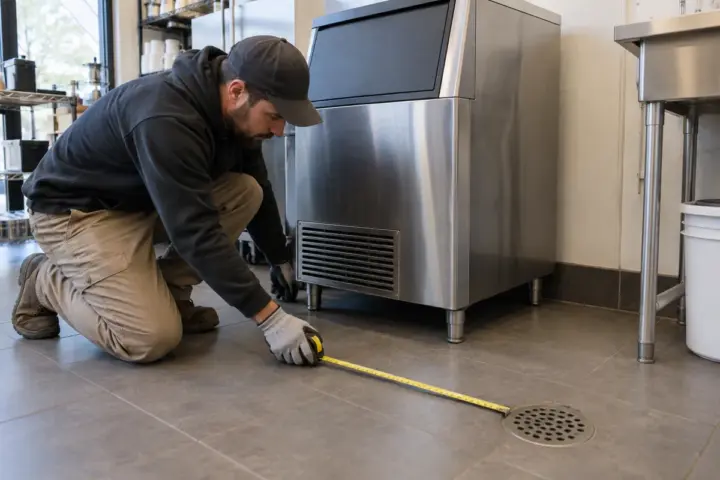
Measure the installed opening after walls, curbs, counters and doors are complete. Include the machine’s operating clearance and the space a technician needs to remove panels. Then walk the delivery route: door width, turns, elevators, thresholds and loading access can matter as much as the final footprint.
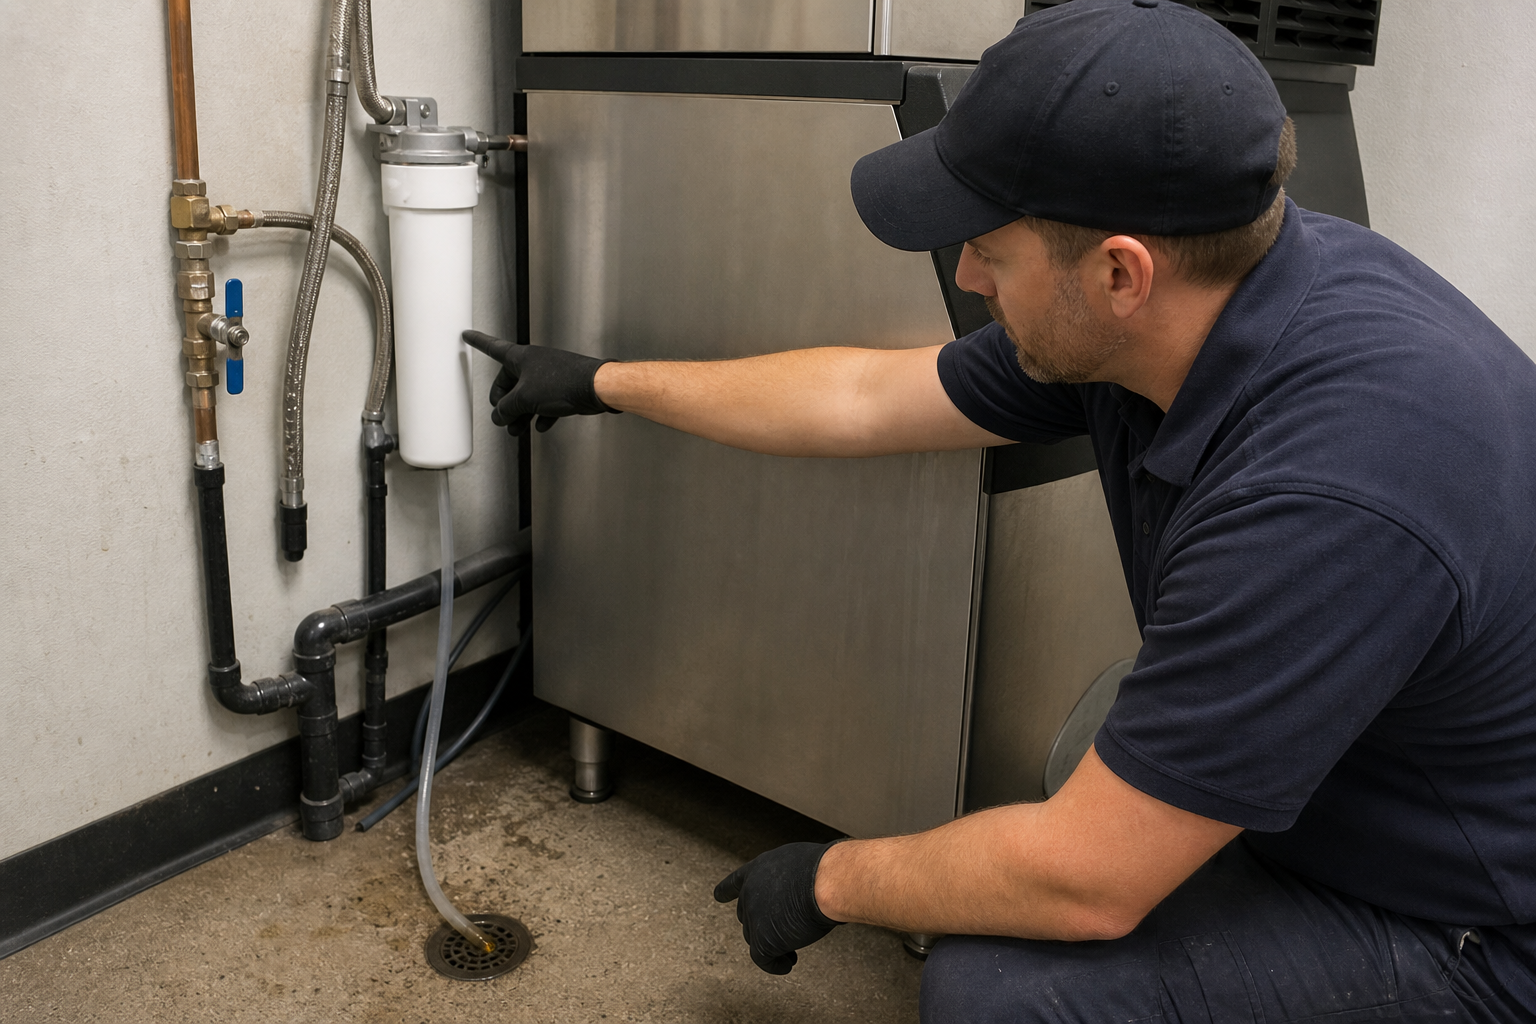
3. Provide the required water supply
Verify pressure, flow, shutoff location, backflow protection and pipe size against the manufacturer specification. The shutoff should be accessible without moving the machine. Avoid routing the potable supply where it will be heated by cooking equipment or hot-water lines.
Water quality affects ice appearance, taste, machine reliability and cleaning frequency. Filtration should be selected from an actual water-quality assessment and the machine manufacturer’s guidance. A filter that is too restrictive can create low-flow problems; no filter at all can accelerate scale or allow sediment into the water system. Freezer Supply’s water-filter guide provides a useful planning overview.
4. Design drainage for gravity and sanitation
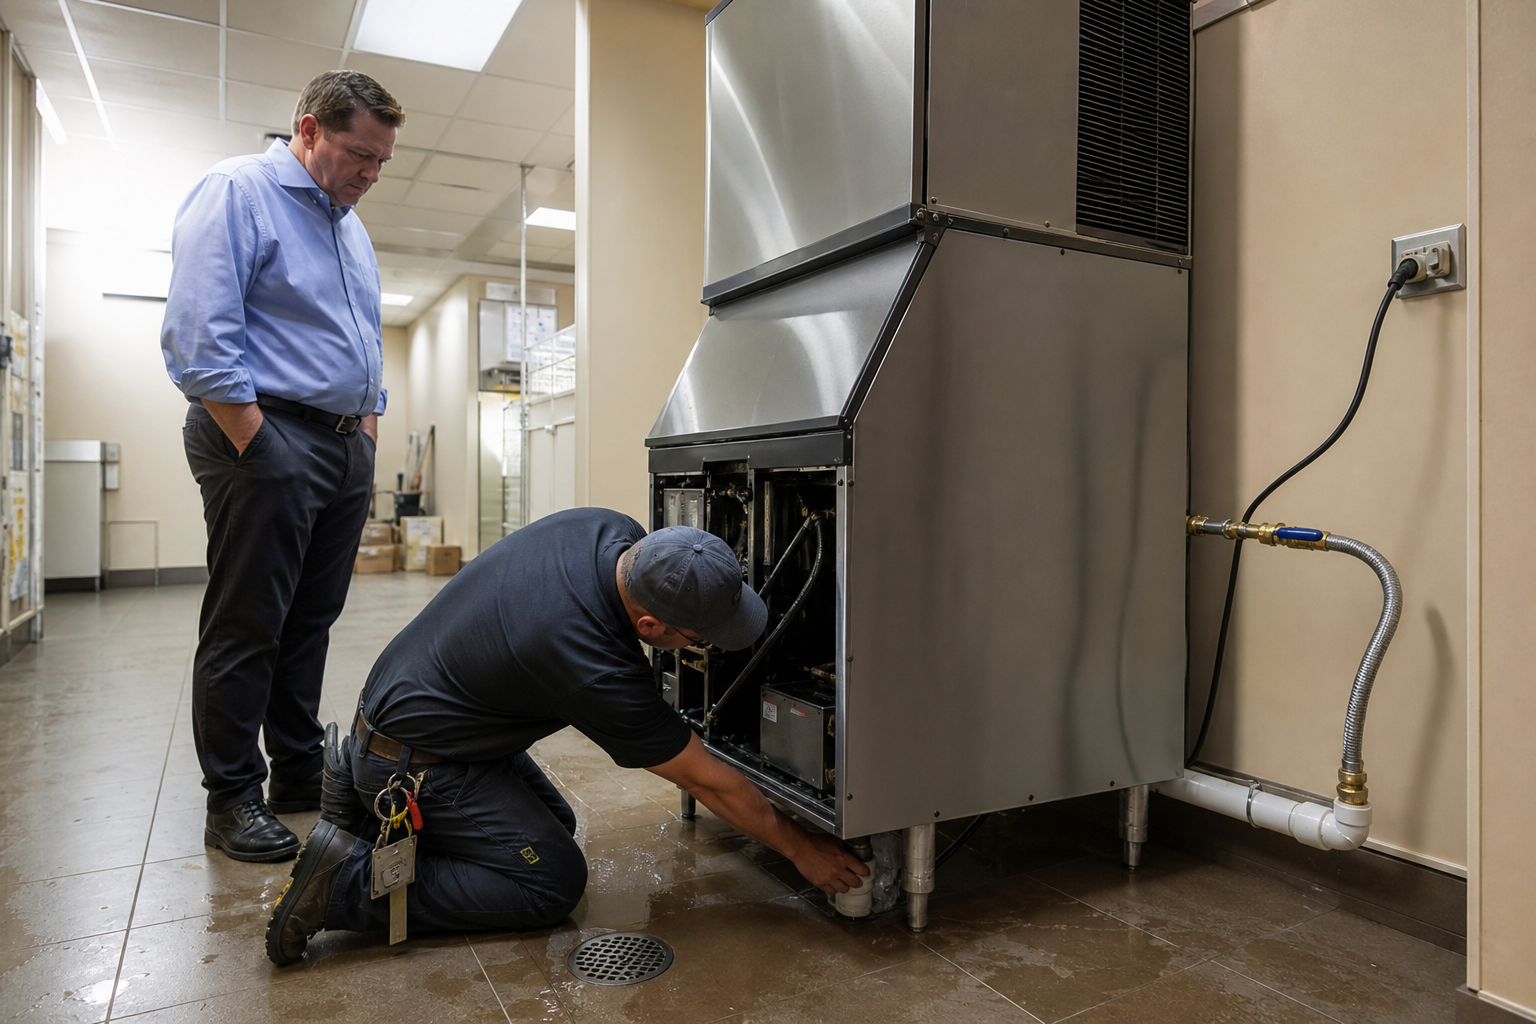
Ice machines and bins may have more than one drain connection. Each needs the required diameter, slope, venting and air gap. Long flat runs, trapped hoses and improvised reductions are common causes of slow drainage and standing water.
The drain receptor should be accessible for inspection and cleaning. Confirm that floor slope does not leave water around the machine legs. Local plumbing requirements govern the final arrangement, so the installation manual is the starting point, not the only authority.
5. Confirm electrical service
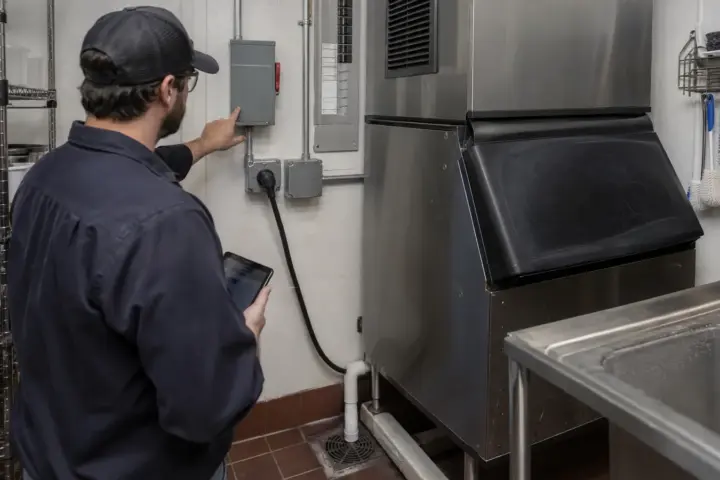
Check voltage, phase, minimum circuit ampacity, overcurrent protection and disconnect requirements for the exact model. Do not assume a replacement machine can use the previous circuit. Condensers, pumps, dispensers and accessories may require separate circuits.
6. Plan heat rejection and ventilation
An air-cooled machine rejects heat into the room. Restricted intake or discharge air can raise head pressure, reduce production and shorten component life. Keep the manufacturer’s clearance around vents and consider the total heat load in a small kitchen or utility room.
Water-cooled and remote-condensing systems solve different problems but add their own design questions. A remote condenser can move heat and sound outside, while water-cooled equipment may be appropriate only where water use, local restrictions and utility costs make sense. Freezer Supply’s overview of remote condenser advantages and tradeoffs can help frame that decision.
7. Protect cleaning and service access
Leave room to open the bin, remove filters, access controls and take off service panels. Place the machine where staff can clean surrounding floors and walls without spraying electrical components. Document who will perform routine sanitation, filter replacement and preventive maintenance before opening day.
8. Commission the complete system
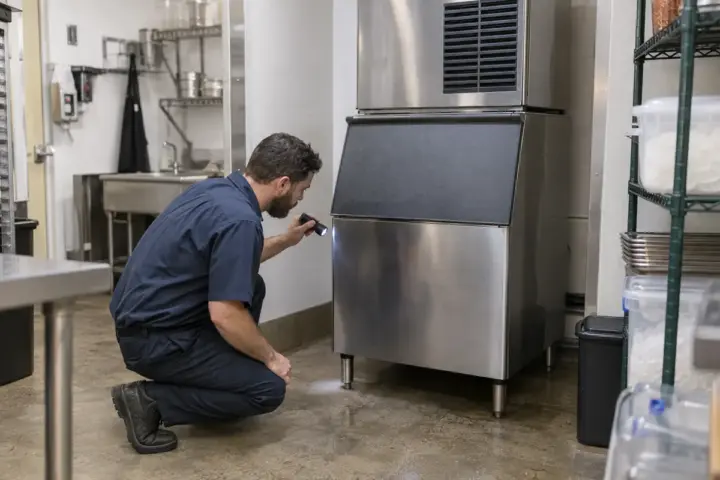
Commissioning should confirm supply pressure, drain performance, freeze and harvest cycles, condenser operation, ice quality, bin control and actual production trend. Record model and serial numbers, warranty information, cleaning instructions and the first filter-change date. The equipment should not be accepted simply because it makes the first batch of ice.
Installation cost depends heavily on how much of this infrastructure already exists. The Freezer Supply answer on commercial ice machine installation cost explains why quotes should separate equipment, utilities, rigging and final connection work.
Frequently asked questions
Does every commercial ice machine need a floor drain?
The required drain arrangement depends on the machine, bin, local plumbing rules and site design. Most installations need gravity drainage with the specified air gap, but the exact receptor and routing must be confirmed locally.
Can an ice machine share a water filter with other equipment?
Sometimes, but the shared system must provide the required flow and treatment without excessive pressure drop. The filter capacity and media should match the water conditions and all connected equipment.
How much clearance does an air-cooled machine need?
Use the exact model’s installation manual. Clearance varies by intake and discharge design, and additional room may be needed for service even when minimum operating clearance is met.
Should the machine be turned on immediately after delivery?
Only after it has been placed as the manufacturer requires, all utilities are complete, packaging is removed, the water circuit is prepared and the installer is ready to commission it.